One of the essential items that we have in our lives today is the stairs. They are actually required to move between different floors or heights. So it is also needed in the animal kingdom. In addition, it also plays a role in the lives of animals, especially dogs. Therefore, you must know the most common benefits that dog stairs will bring, as well as how we are going to use them and whether they are fully endorsed. It's more important to us to keep your pet dog comfortable, including everything listed above and more to learn how to build dog stairs.
Why is it convenient to use dog stairs?
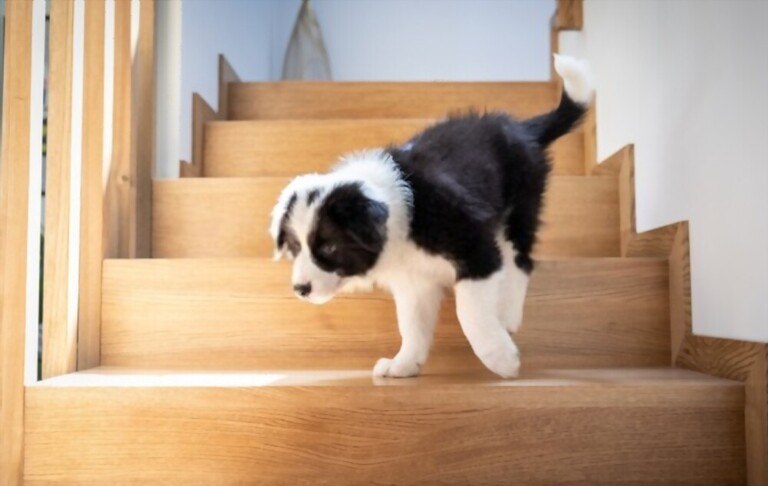
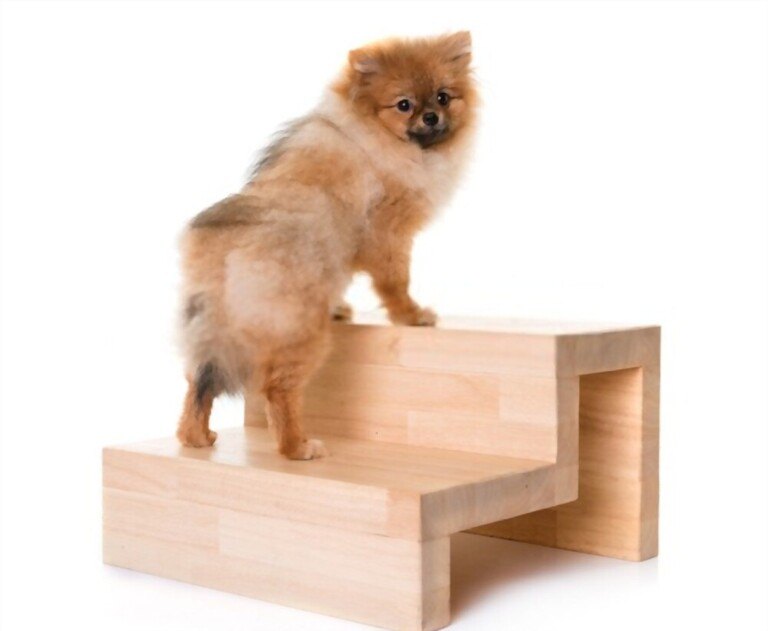
Because many animals jump from sleep to sofa throughout the day, endangering their long-term health, the answer is very straightforward. A few little dog breeds have incredibly weak backbones, which can cause a variety of issues or diseases. Not to mention that each jump affects the joints as well. As a result, having a helper is crucial, especially as animals age. You now understand that it's one of the essential accessories that you and your furry friends need.
Advantages of Dog Stairs
- Prevent back pain.
- Animals won't be able to jump back and forth whenever they want to go on vacation
- They risk causing joint damage after each jump, so the dog stairs will protect and take care of them.
- Also, since bones have to endure a lot of jumping and can break more easily, this is one of the better ways to protect them.
- Enhance your quality of life by minimizing your attention on your dog friends with our dog stairs.
Things to know before making stairs
Before start
This dog ladder set is created from a 2 foot x 4 foot wooden plank. Both large and small dogs can use stairs, although there are restrictions on the overall height of stairs due to their size and number of steps. Therefore, you may have to spring a 4 foot x 8 foot plywood and change the design slightly if you want to build taller stairs to access a really tall bed or sofa.
Considerations for Safety
These steps have been made to be secure and capable of supporting that weight of the strongest dogs in order to guarantee your dog's safety. If the bracing, fasteners, and any other building process steps are cut corners, the stairs' strength and stability may be compromised, endangering your dog's safety.

How To Build Dog Stairs
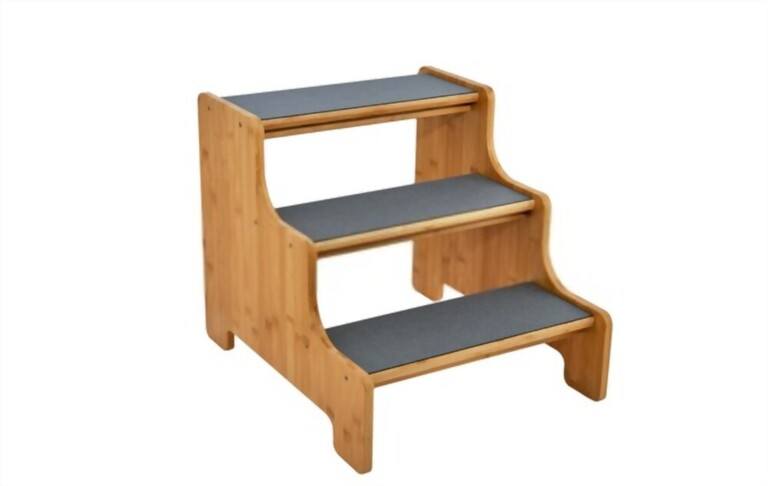
Build your own set of dog stairs by following the instructions. While the size and number of steps can be easily changed to accommodate dogs of all sizes and shapes, these steps are designed to create a 2-foot-high staircase with three steps.
Slice the plywood.
Cut a plywood into the two 2-foot x 2-foot squares using a circular saw. To protect that work surface while cutting, place the plywood on a surface and support it using a scrap piece of wood.
Draw the stairs layout
Draw an 8-inch, 16-inch line on the plywood face with a pencil and tape measure. On the other side of the board, do it again.
Mark each descending line with a speed square until the stair pattern is clearly visible. The 'X' marks the smaller edge of both lines as the erased edge.
You can easily follow the first steps after cutting the first piece of plywood, so don't bother about repeating the process on the second piece.
Cut off the stairs
Use a jigsaw to cut the stairs while the plywood is firmly fixed to the work surface. If you don't have a jigsaw, make the majority of each cut with a circular saw, then complete the close cut with just a hand saw. On the second layer of plywood, trace the stairs, then cut the shape.
Cut braces
Most of the strength for the stairs will come from 2x4 bracing. Cut a 2x4 sheet into 4 sheets, 1 to 2 feet long each to create bracing. Make sure that each board is exactly the same length by measuring the steps' width as a guide for their length.
Tip
Cut your 2x4 boards 1-1/2 inches short of 2 feet if you want the stairs to be 2 feet wide to accommodate the 3/4-inch plywood on every side. This will ensure that one 2x4 board yields four braces.
Attach the back brace.
Two evenly spaced screws will be used to secure the tie rod at each end. To help hide the screw ends, pre-drill the connection holes with a drill bit.
Place the vertical plank on the foot of the stairs at the back for the first brace. Pre-drill the holes with a drill, making sure they are centered in the 2x4. Next, glue the ends of the board together and use 3-1/2 inch wood screws to secure the board between the sides. Remove excess wood glue.
Put the stair braces in place.
Each stair tread will receive one of the three remaining bracings. The brace could be moved just far enough to be covered in behind stairs or positioned enough to the edge to be positioned enough to the edge so it is apparent from the side. Repeat the pre-drilling and fastening steps from the previous stage.
Cut the Stair Treads
To estimate the length of each stair tread, measure the frame's assembled width. Add it in as well if you want the treads to protrude slightly past the ends. Remember that if your treads are 2 feet long, you might need a 1x10 that is longer than 8 feet to adjust for the sawblade's breadth and create this effect.
Fastening stair treads
Apply wood glue to each of the 3 stair treads. Using a brad nailer, secure the grooves after sliding them into place and make sure they are parallel to each other. Despite its small size, brad nails and wood glue work together to firmly fix the stairs in place.
Sand Every Surface
The dog stairs should have all surfaces and sharp edges sanded using an orbital sander equipped with 120-grit sandpaper.
Fill the Screw and Nail Heads.
Fill all nail & screw heads with stainable wood filler if you intend to stain the steps. Smooth them when they have dried. If you plan to paint the stairs, simply seal any gaps with a paintable caulk or wood filler.
Stairs for dogs: Paint or dye
Finish dog stairs with paint or dye to enhance their appearance and protect them for years of use. If you decide to stain the steps, then applying a clear coat of paint will help protect them better.
Insert protective feet.
To safeguard your floors, fasten four protecting feet to the bottom of the stairs. Use the hardware that is included, and according to the manufacturer's guidelines.
Integrate Clear Tread Strips
If you're concerned that your dog might slip on the steps, put clear tread strips or tread tapes to each one.

Replacement of Homemade Dog Stairs
It might be better to upgrade parts or build the stairs if you have cause to believe they are not sturdy enough to hold your dog or if they have worn out over time and are now unsafe to use. Your stairs should survive for just as long as you need them if they are constructed properly and coated with paint, stain, and clear coat.
Conclusion
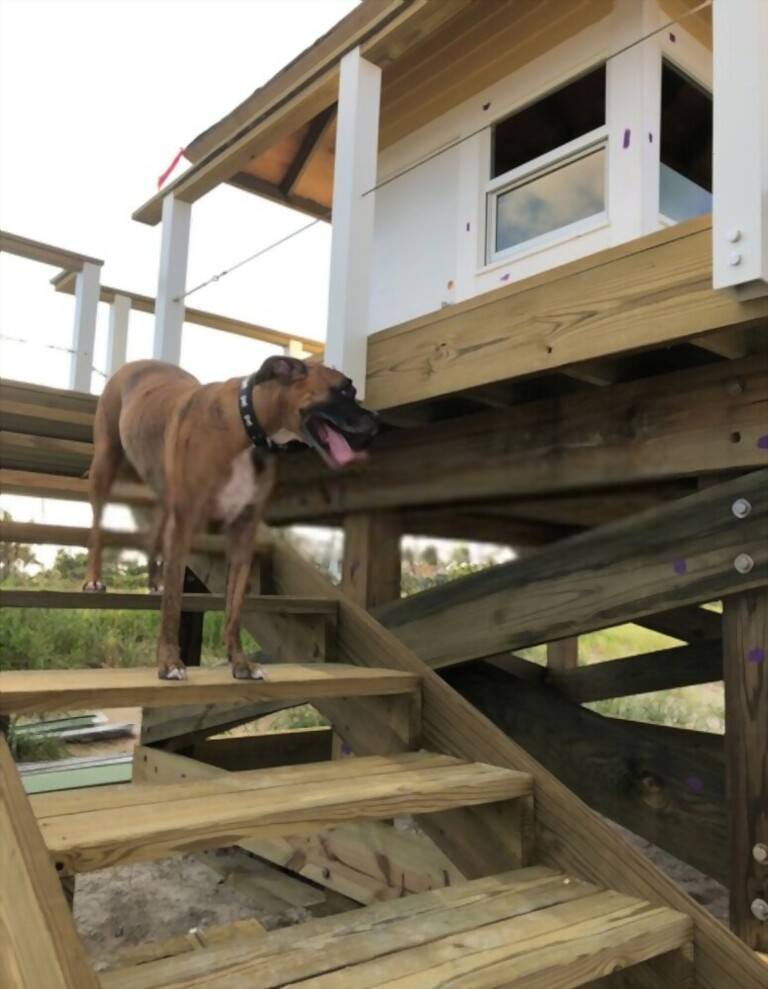
Dog owners need to pay attention to their stairs. Usually because the stairs are too narrow. Its limbs can't be on that staircase. As a result, dogs have to bend their waists when walking up stairs to let their hind legs give way to their front legs, taking the stairs can save them energy but constantly going up the stairs can cause injury. trauma to the dog's hip or joint, causing some functional impediment to walking. Although the dog steps look great, dog lovers should think about the risk of injury before allowing it.


