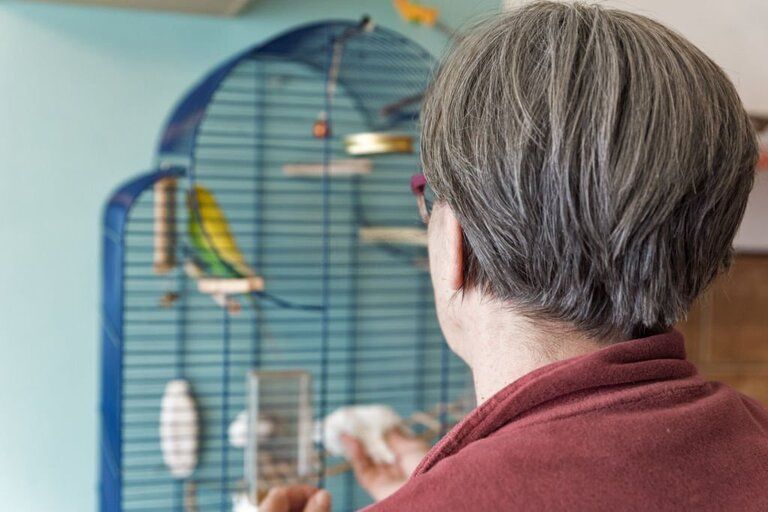
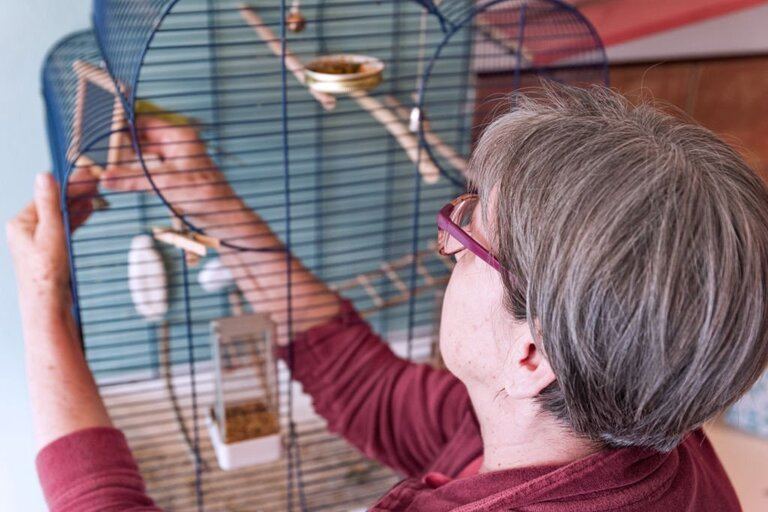
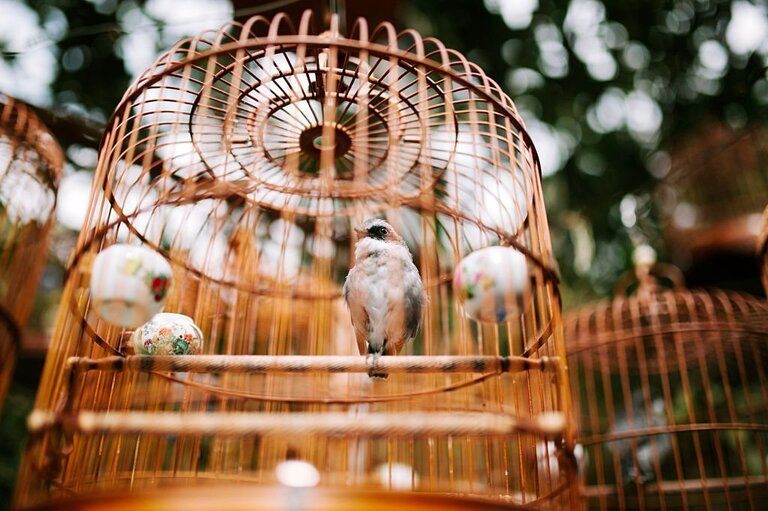
To care for and play with a pet bird comes with a lot of responsibility that comes with it. To ensure good health for your pet, you must clean the bird cage. Clean cages and accessories will help keep birds happy and healthy. This requires proper daily and weekly cage cleaning, including weekly bird baths, which, if repeated, can help remove debris and harmful bacteria and keep the birds healthy. Yours is in good health. So how to clean your bird cage? Check-in below!
1. Daily cleaning
Clean the dishes

Usually, this is a minus point for food and drink dishes, which should be washed daily with hot water and dish soap. You should clean the dishes before rinsing with soap, then rinse the soap under hot water for a few seconds, then dry completely with a clean towel.
Furthermore, some dishes are dishwasher safe. Always check to make sure that dishes are dishwasher safe before placing them in the dishwasher and using animal-safe detergents.
Animal-safe dish soaps and detergents are available at local pet stores, online, or in grocery stores that sell eco-friendly cleaning products.
To make it more convenient and time-consuming, you should have two or three sets of dishes ready to clean and dry the dishes daily properly. Or the bird may stay in the cage during daily cleaning. If you think the bird is a danger in flight, consider keeping an alternative cage so the bird can stay while cleaning.
Check cage accessories
Changing the lining
Any newspaper liner or any other recycled paper liner should be free of colored ink, as some of the pigments used in some inks can be toxic to birds. Be prepared to substitute at least seven layers of paper to catch and absorb all debris and feces.
Sweeping the surrounding areas
Cage aprons can be used to help collect debris that falls out of the cage and can be easily cleaned every day. They are usually available at pet stores as well as specialty bird stores.
If the coop is in a carpeted area, a plastic floor mat such as a floor mat or under an office chair can help catch debris and make it easy to clean.
2. Clean the cage regularly
Choose a cleaning schedule
The total number of times you need to clean the cage depends on several factors including the size of the cage, the number of birds, the number of birds you have, and how long the bird is in the cage each day. Find a cleaning schedule that meets the needs of your particular setup.
Smaller cages with individual birds may only need to be cleaned once a month, especially if the birds are frequently out of the cage. Some large or multi-bird cages should be cleaned weekly.
Remove everything
You must keep the bird in an area that is not exposed to smoke or excess product while the cage is cleaned. Wash any dishes and cage accessories in hot, soapy water before returning them to a clean cage.
Shave off debris and feces
Be sure to remove debris and feces from the cage by using a pet-friendly soap or laundry detergent and a scouring pad. Scrape them off any cage surfaces, peas, and toys.
The sandpaper section can help remove stubborn debris from wooden poles or toys.
Cage washing
Using soap or pet-safe detergent should suffice at this stage in the cleaning process. For good disinfection results, use a clean cloth to gently dry the cage and absorb excess water from around the surface of the cage.
Cage sterilization
Once the cage has been cleaned, spray the cage disinfectant from top to bottom. Cage-specific disinfectant spray online or at your local pet or bird store. Be sure to thoroughly rinse the cage with water and allow it to air dry completely before returning the bird.
Still, some people choose to use a vinegar cleaning solution of one part distilled white vinegar and two parts water. The solution we can give you is 3 cups of hot water, 3 tablespoons of baking soda, and 3 tablespoons of lemon juice.
Where there is no means to spray disinfectant on the cage, thoroughly wipe all surfaces with a clean cloth soaked in disinfectant solution. Remember to use protective gloves whenever handling disinfectants.
Filling the cage
Once the cleaning, rinsing, and drying steps are complete, you're ready to replace all the dried perches, toys, dishes, and other cage components. Place in a clean cage and make sure the apron and surrounding area are empty and free of debris.
Do not put wet or unwashed parts back into the cage, as they always harm the bird or interfere with movement and access to the cage parts.
3. Keep the bird clean
Choose a birdbath
Keeping birds in good health is similar to cage cleaning. Choose a tub that's the right size for your bird so they won't have trouble getting in and out.
The market has several bird baths that are used inside the cage, while some are used outside the cage. Large birds can benefit from an outside bathroom, but the bathroom layout is largely down to owner preference.
In particular, make sure the tub has enough space and water for the bird to safely head in.
Use warm water
Monitor birds while bathing. Fill the tub with warm water and let the bird roam around, drenching yourself and preening for a few minutes before removing the bird from the bath.
When the birds have finished bathing, scratch their feathers to mimic each other's preening. Make sure not to press the feathers down on the bird's body as the bird doesn't like the feel.
Let the bird dry
Usually, birds need time to dry before evening. If you let your birds bathe too close to bedtime, they can become dangerously cold at night. But if you live in a colder environment, make sure the room is well heated when the bird is bathing as well as it is drying.
Conclusion
Via the sharing above that, we have already shown to you. You must know some features before cleaning your bird cage.
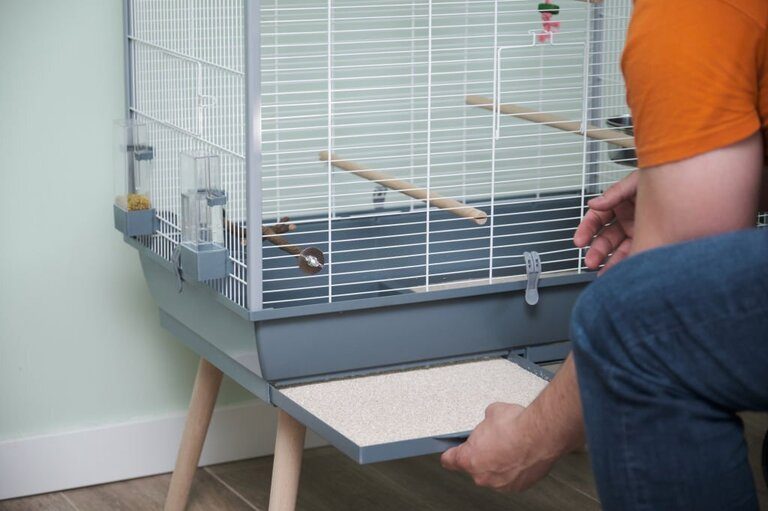
Cleaning the bird cage that features a grate and a removable tray on the bottom. You simply spread newspaper on the tray and most of the droppings will fall through the grate. Thanks to doing that, you do not need to prepare for everything.
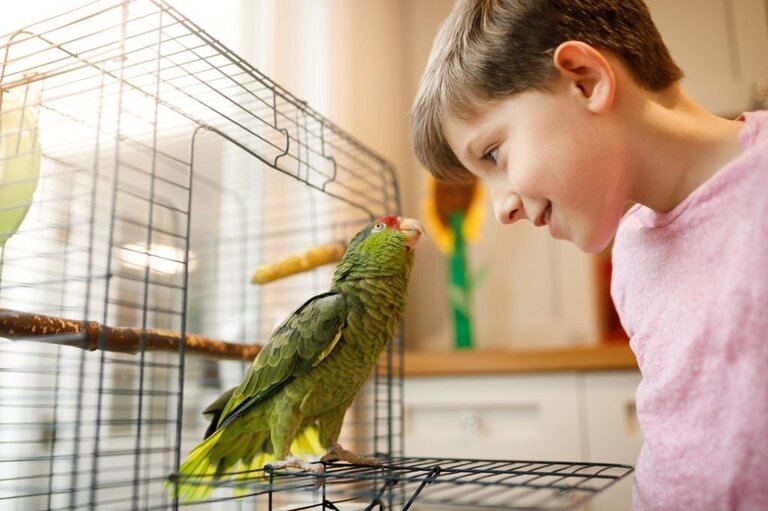
Moreover, you make sure to check for any debris, feathers, or droppings on the bird’s feet whenever you take them out to clean the cage. We recommend having multiple cages while you're cleaning one because the bird can be comfortable in the other.


