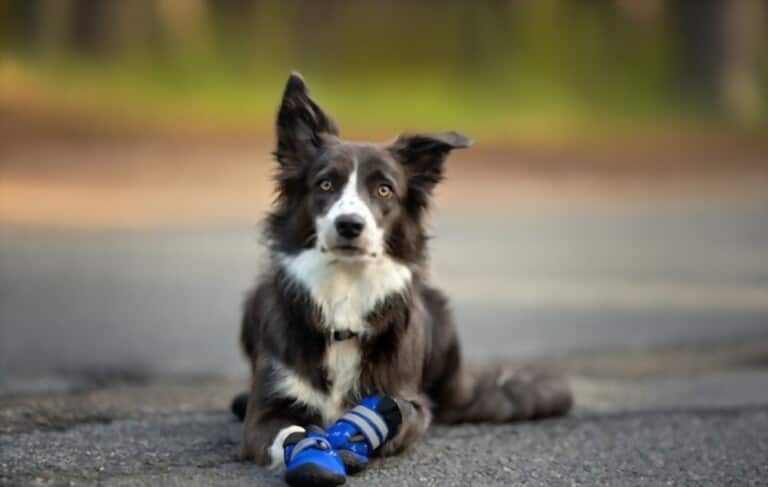
If you've ever lived in a cold or hot area, you know how uncomfortable it may be for your dog to walk outside. To address this issue, dog booties were created, and there are many different colors and designs available.
Dog booties and dog clothing in general, meanwhile, tend to be expensive, so you could be looking at alternative possibilities. Or perhaps your dog despises the pricey boots you bought and will not wear them. Whatever your motivation, you could feel as though you have no other choices.
Fortunately, there are many DIY instructions and designs available that can show you how to construct dog boots quickly and easily at home. Here is the way how to make dog boots.
How to Make Dog Boots
Materials you will need:
- Heavy-duty fabric like leather or canvas
- Soft fabric for lining like fleece or cotton
- Velcro, snap fasteners
- Thread
- Scissors
- Measuring tape
Measuring your dog's paw to make dog boots
Measuring your dog’s paw is the first step on the list of how to make dog boots.
Prepare your materials: Before measuring your dog's paw, make sure you have a measuring tape, a pen, and a piece of paper to record your measurements.
Get your dog into a standing position: Have your dog stand on a flat surface with their weight evenly distributed on all four paws.
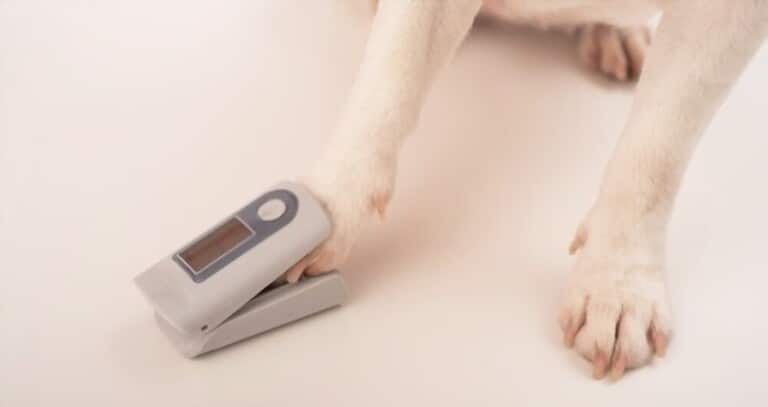
Measure the length of the paw: Use the measuring tape to measure the length of your dog's paw from the base of the heel to the tip of the longest toe. Make sure to measure the paw while it is flat on the ground, as this will provide the most accurate measurement.
Measure the width of the paw: Use the measuring tape to measure the width of your dog's paw at its widest point, which is usually at the base of the toes.
Add extra length and width: Add an extra inch to each measurement to allow for the thickness of the fabric and lining. This will ensure that the boots fit comfortably and provide enough space for your dog's paw to move around inside.
Record your measurements: Write down the length and width measurements for each paw, so you can use them to create a pattern and cut the fabric for your dog boots.
By following these steps, you can accurately measure your dog's paws to make dog boots that fit comfortably and provide the necessary protection.
Creating a pattern to make dog boots
The next step on the list of how to make dog boots is creating a pattern.
Gather your materials: To create a pattern for your dog boots, you will need a piece of paper, a pen or pencil, and the measurements you took of your dog's paws in step 1.
Draw the shape of the paw: Place the paper on a flat surface and use the pen or pencil to draw the shape of your dog's paw using the measurements you took in step 1. Make sure to include the length and width measurements and add an extra inch to each measurement for seam allowances.
Add the closure: Draw a line at the top of the pattern to indicate where the boot will close. This can be a straight line or a curve, depending on the style of the boot you are making. Make sure to leave enough space for the closure to fit securely around your dog's paw.
Cut out the pattern: Use scissors to cut out the pattern along the lines you drew.
Test the pattern: Once you have created your pattern, test it by placing it on your dog's paw to ensure that it fits properly. Make any necessary adjustments to the pattern before using it to cut the fabric for your dog boots.
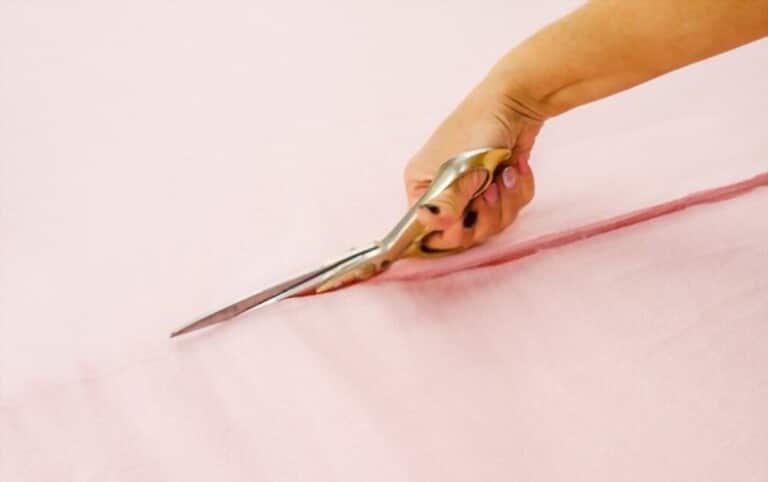
Cutting the fabric to make dog boots
Prepare your materials: Before cutting the fabric, make sure you have the pattern you created in step 2, heavy-duty fabric like canvas or leather, soft fabric for lining like fleece or cotton, scissors, and a pen or pencil.
Trace the pattern onto the fabric: Place the heavy-duty fabric on a flat surface and use the pen or pencil to trace the pattern onto the fabric. Repeat this step with the lining fabric. Make sure to trace two pieces of heavy-duty fabric and two pieces of lining fabric for each boot.
Cut the fabric: Use the scissors to cut out the traced pieces of fabric. Be sure to cut along the lines you traced and leave an extra inch for seam allowances.
Check the size: Once you have cut out all of the pieces of fabric, check to make sure they are the correct size by placing them on your dog's paw. If any adjustments need to be made, make them now before sewing the fabric together.
Sewing the fabric together to make dog boots
Sewing the fabric is the next step on the list of how to make dog boots. Prepare your materials: Before sewing the fabric, make sure you have the cut pieces of heavy-duty fabric and lining fabric, a sewing machine or needle and thread, and any closures or embellishments you want to add
Sew the lining to the heavy-duty fabric: Place the lining fabric on top of the heavy-duty fabric, with the right sides facing each other.
Turn the fabric right side out: Turn the fabric right side out so that the lining is now on the inside of the heavy-duty fabric.
Sew the closure: Sew the closure, such as velcro or elastic, onto the top of the boot. Make sure the closure is secure and will keep the boot on your dog's paw.
Repeat for each boot: Repeat steps 2-4 for each boot until you have a complete set
Test the boots: Once you have sewn all of the pieces together, test the boots by placing them on your dog's paws to make sure they fit properly and stay on securely.
Finishing the dog boots
Trim any excess fabric: Use scissors to trim any excess fabric or loose threads from the boots.
Add non-slip soles: If desired, you can add non-slip soles to the bottom of the boots for extra traction. You can purchase pre-made soles or create your own by using a rubber or silicone material.
Try the boots on your dog: Once you have finished the boots, try them on your dog to make sure they fit comfortably and securely. Observe your dog walking in the boots to make sure they don't slip off or cause any discomfort.
Make any necessary adjustments: If the boots do not fit properly, make any necessary adjustments to the sizing or the closures.
Use the boots as needed: Use the boots as needed to protect your dog's paws from harsh weather, rough terrain, or other hazards. Be sure to check the boots regularly for signs of wear and tear and replace them as needed.
Add fasteners
Cut two pieces of Velcro or snap fasteners and sew them onto the boot. One piece should be on the top of the boot and the other on the bottom to secure the boot around your dog's paw.
Repeat for all four paws
Repeat these steps to make boots for each of your dog's paws.
By following these steps on the list of how to make dog boots, you can make dog boots at home to protect your dog's paws and keep them comfortable during outdoor activities. However, keep in mind that homemade boots may not be as durable as store-bought boots, so monitor your dog closely and replace the boots as needed.


